
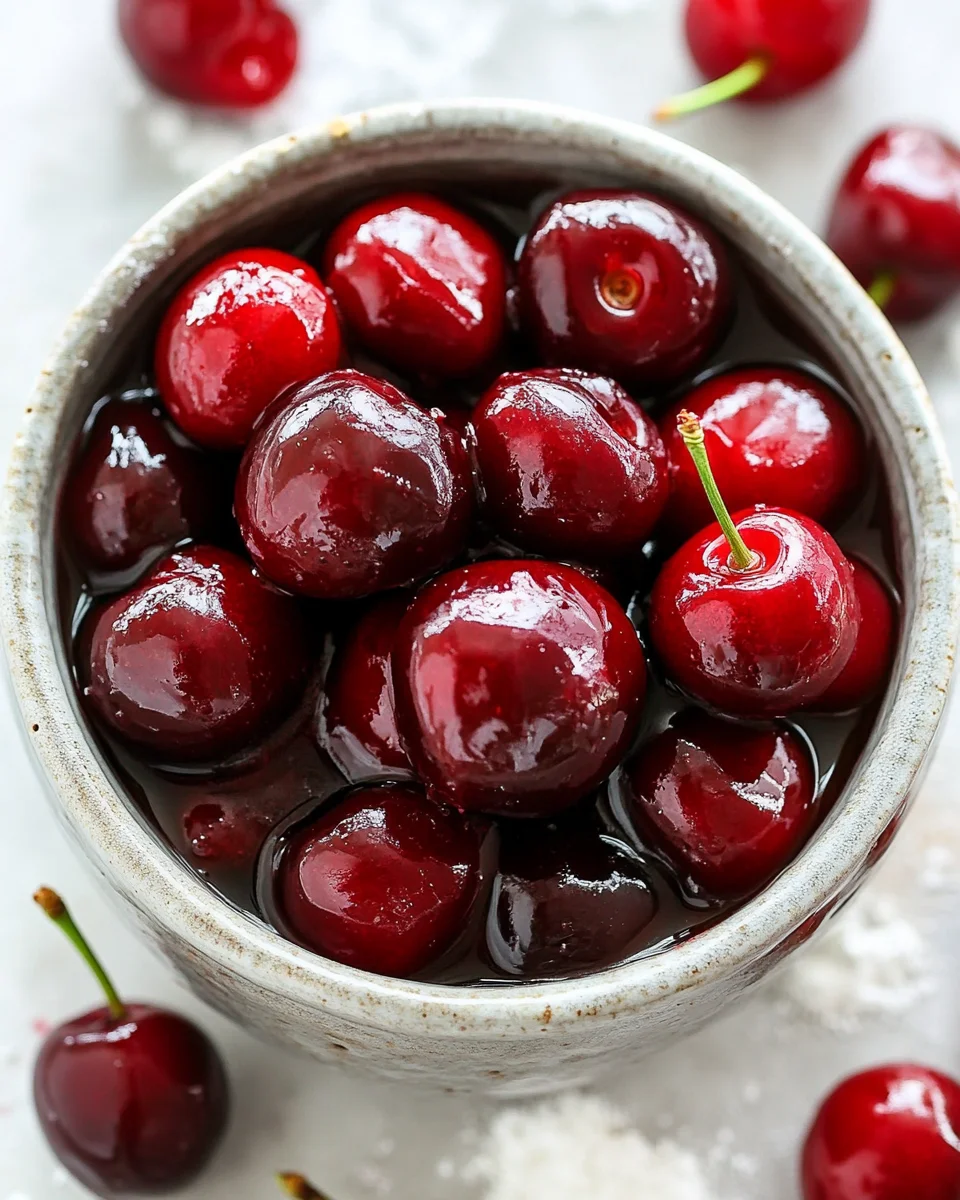
This Simple Cherry Pie Filling is a delightful addition to any dessert table. Whether you’re making a classic cherry pie, topping your morning yogurt, or drizzling it over fluffy buttermilk pancakes, this filling is versatile and easy to prepare. With just a handful of ingredients and minimal effort, you can create a luscious cherry topping that will impress family and friends on any occasion.
Why You’ll Love This Recipe
- Easy to Make: With just a few ingredients and simple steps, this cherry pie filling comes together in no time.
- Versatile Use: Perfect for pies, pancakes, or yogurt; this filling suits many dishes and occasions.
- Fresh Flavor: Made with sweet cherries, this recipe captures the essence of summer in every bite.
- Quick Preparation: In just 20 minutes, you can have homemade cherry filling ready to enjoy.
- Healthier Option: Using fresh fruit means you’re getting some nutritional benefits while satisfying your sweet tooth.
Tools and Preparation
Before you dive into creating your simple cherry pie filling, gather the necessary tools to make the process smooth and enjoyable.
Essential Tools and Equipment
- Cherry pitter
- Large saucepan
- Mixing spoon
- Measuring cups
- Measuring spoons
Importance of Each Tool
- Cherry pitter: This tool makes removing pits from cherries quick and easy, ensuring a smoother filling without any bitter surprises.
- Large saucepan: A spacious pot allows for even cooking and helps prevent overflow as the mixture simmers.
Ingredients
For the Cherry Filling
- 6 cups sweet cherries pitted
- 3/4 cup water
- 1 1/2 tablespoons lemon juice
- 3/4 cup granulated sugar
- 1/4 cup cornstarch
- 1/4 teaspoon vanilla extract
How to Make Simple Cherry Pie Filling
Step 1: Prepare the Cherries
Using a cherry pitter, pit 6 cups of sweet cherries into a bowl. This step ensures that your filling is smooth and enjoyable without any hard bits.
Thousands of Happy Customers Can't Be Wrong About These Bowls!
Step 2: Combine Ingredients
In a large saucepan, add the prepared cherries along with:
1. 3/4 cup water
2. 1 1/2 tablespoons lemon juice
3. 3/4 cup granulated sugar
4. 1/4 cup cornstarch
5. 1/4 teaspoon vanilla extract
Mix all ingredients thoroughly until well combined.
Step 3: Cook the Mixture
Bring the mixture to a boil over medium heat. Once boiling, reduce the heat to low and let it simmer for about 10 minutes. Stir frequently to prevent sticking or burning.
Now you have delicious Simple Cherry Pie Filling ready to elevate your desserts! Enjoy it warm or let it cool before using it in your favorite recipes.
How to Serve Simple Cherry Pie Filling
Simple cherry pie filling is a versatile delight that can elevate various dishes. Whether you’re serving it alongside breakfast or as a dessert topping, this filling adds a burst of flavor and color.
Over Pancakes
- Buttermilk Pancakes: Drizzle the cherry pie filling over fluffy buttermilk pancakes for a delightful breakfast treat.
- Whole Wheat Pancakes: Pair with whole wheat pancakes for a healthier option that still feels indulgent.
With Yogurt
- Greek Yogurt: Add a generous spoonful of cherry filling to creamy Greek yogurt for a delicious snack or breakfast.
- Vanilla Yogurt: Mix it into vanilla yogurt for an easy dessert that satisfies your sweet tooth.
In Desserts
- Ice Cream Sundaes: Top your favorite ice cream with warm cherry pie filling for an irresistible sundae.
- Cheesecake: Use the cherry filling as a topping for cheesecake, creating a perfect combination of flavors.
On Toast
- French Toast: Spread cherry pie filling on slices of French toast for a fruity twist on this classic breakfast dish.
- Toast with Cream Cheese: Spread cream cheese on toasted bread and top it with the cherry filling for a simple yet delicious snack.
How to Perfect Simple Cherry Pie Filling
To achieve the best simple cherry pie filling, consider these helpful tips:
- Use Fresh Cherries: Fresh sweet cherries yield the best flavor. Look for ones that are plump and firm.
- Adjust Sweetness: Depending on your taste, feel free to adjust the sugar amount to make it more or less sweet.
- Thicken Properly: Ensure you mix the cornstarch well with other ingredients to avoid lumps in your filling.
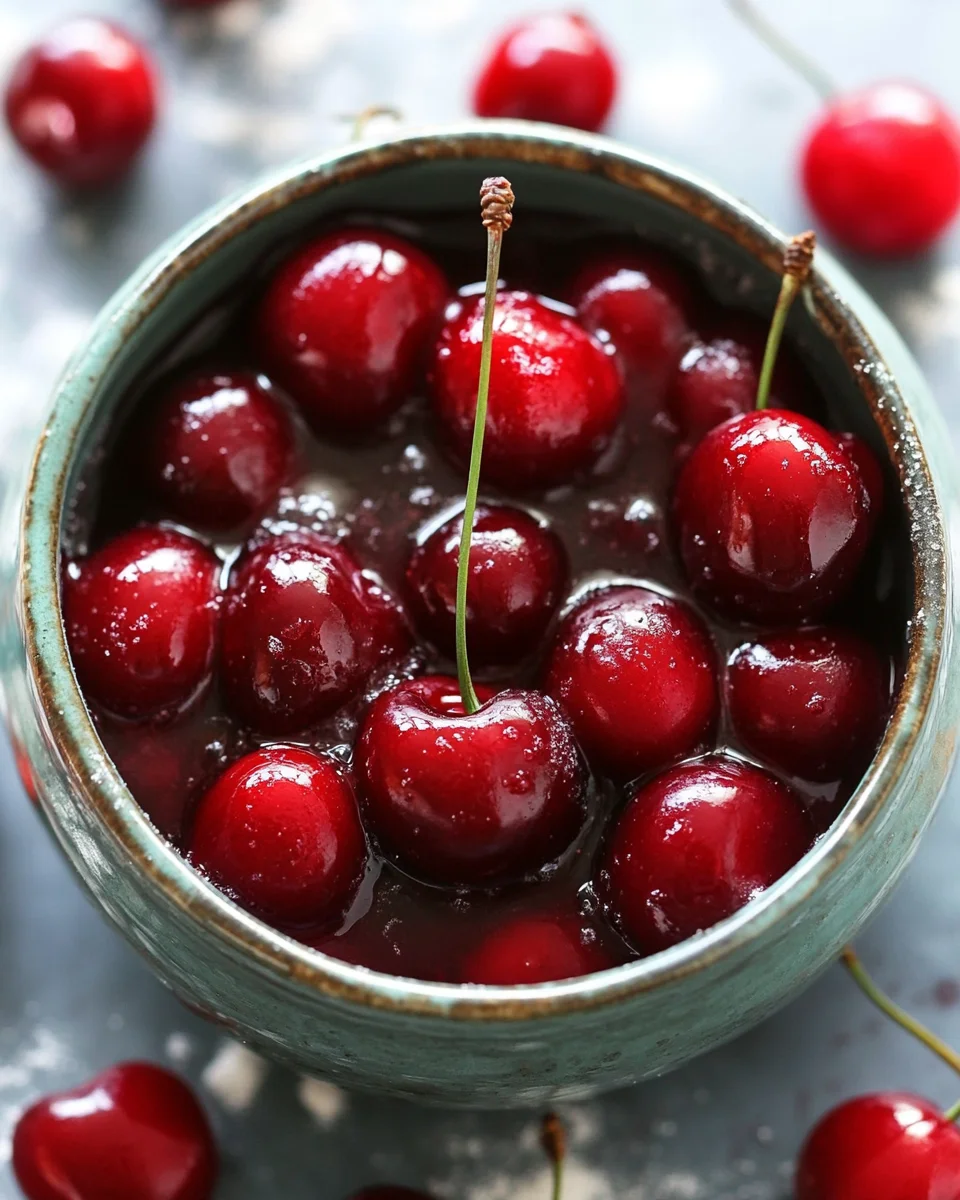
- Let It Cool: Allow the filling to cool down before using it in desserts; it thickens further as it cools.
Best Side Dishes for Simple Cherry Pie Filling
Simple cherry pie filling pairs wonderfully with various side dishes. Here are some delicious options to complement your meal:
- Vanilla Ice Cream: The creamy texture contrasts beautifully with the tart cherries, making it an ideal pairing.
- Pancakes: Serve alongside pancakes for a hearty breakfast; they soak up the sweetness of the cherries.
- Waffles: Similar to pancakes, waffles provide a crispy texture that goes well with warm cherry topping.
- Oatmeal: Mix in simple cherry pie filling into your morning oatmeal for added flavor and sweetness.
- Biscuits: Flaky biscuits topped with cherry filling create a comforting dessert option.
- Scones: Pair scones with this filling for afternoon tea, adding a fruity twist to each bite.
Common Mistakes to Avoid
Making simple cherry pie filling can be straightforward, but there are common pitfalls to avoid for the best results.
- Using unripe cherries: Unripe cherries can lead to a tart and less flavorful filling. Always choose sweet, ripe cherries for the best taste.
- Not measuring ingredients correctly: Accurate measurements are crucial. Use measuring cups and spoons to ensure you get the perfect balance of flavors.
- Skipping the cornstarch: Cornstarch is essential for thickening your filling. Without it, your cherry pie filling will be runny. Make sure to mix it well with other ingredients.
- Ignoring cooking times: Cooking the mixture too long or too short can affect consistency. Follow the recommended simmering time for optimal thickness.
- Neglecting to taste: Not tasting during cooking may lead to an unbalanced flavor. Adjust the sugar or lemon juice as needed before finishing.
Refrigerator Storage
- Store in an airtight container.
- Simple cherry pie filling lasts up to 5 days in the refrigerator.
Freezing Simple Cherry Pie Filling
- Use freezer-safe containers or heavy-duty freezer bags.
- The filling can be frozen for up to 6 months.
Reheating Simple Cherry Pie Filling
- Oven: Preheat to 350°F (175°C), place in a baking dish covered with foil, and heat for about 15-20 minutes until warm.
- Microwave: Place in a microwave-safe bowl, cover loosely, and heat in 30-second intervals, stirring frequently until heated through.
- Stovetop: Transfer to a saucepan over low heat, stirring frequently until warmed.
Frequently Asked Questions
How To Make Simple Cherry Pie Filling?
To make simple cherry pie filling, start by pitting sweet cherries and mixing them with water, lemon juice, sugar, cornstarch, and vanilla extract in a saucepan. Bring it to a boil and then simmer until thickened.
Can I use frozen cherries for this recipe?
Yes, you can use frozen cherries. Just thaw them before use and drain excess liquid before adding them to your mixture.
How To Thicken Simple Cherry Pie Filling?
If your filling is too thin after cooking, you can add more cornstarch mixed with a little water. Return it to the heat until thickened.
What are some ways to customize my cherry pie filling?
You can customize your simple cherry pie filling by adding spices like cinnamon or almond extract for extra flavor. Consider mixing in other fruits like blueberries or raspberries as well!
Final Thoughts
This simple cherry pie filling is not only easy to make but also incredibly versatile. It complements a variety of dishes from pies to pancakes and even yogurt. Feel free to customize it with spices or additional fruits! Give this recipe a try; you’ll love how delightful it is!

Simple Cherry Pie Filling
- Total Time: 20 minutes
- Yield: About 4 servings 1x
Description
Simple Cherry Pie Filling is a delightful and versatile recipe perfect for enhancing desserts, breakfast dishes, or snacks. This homemade filling captures the fresh flavor of sweet cherries, making it an essential addition to your culinary repertoire. In just 20 minutes, you can create a luscious topping that elevates everything from classic cherry pies to fluffy pancakes and creamy yogurt. With minimal ingredients and effort, impress your family and friends with this easy-to-make filling that celebrates the essence of summer with every bite.
Ingredients
- 6 cups sweet cherries, pitted
- 3/4 cup water
- 1 1/2 tablespoons lemon juice
- 3/4 cup granulated sugar
- 1/4 cup cornstarch
- 1/4 teaspoon vanilla extract
Instructions
- Pit the cherries using a cherry pitter and place them in a bowl.
- In a large saucepan, combine the pitted cherries, water, lemon juice, granulated sugar, cornstarch, and vanilla extract. Mix thoroughly.
- Bring the mixture to a boil over medium heat. Once boiling, reduce to low heat and simmer for about 10 minutes while stirring frequently until thickened.
- Prep Time: 10 minutes
- Cook Time: 10 minutes
- Category: Dessert
- Method: Cooking
- Cuisine: American
Nutrition
- Serving Size: 1/4 cup (60g)
- Calories: 70
- Sugar: 14g
- Sodium: 5mg
- Fat: 0g
- Saturated Fat: 0g
- Unsaturated Fat: 0g
- Trans Fat: 0g
- Carbohydrates: 18g
- Fiber: 1g
- Protein: <1g
- Cholesterol: 0mg
The Casserole Dish Thousands of Families Can't Cook Without!
Leave a Comment