
This pickled okra recipe is a delightful way to preserve the flavor of summer’s bounty. Whether you’re enjoying it as a side dish at barbecues, adding it to your favorite salads, or snacking on it straight from the jar, pickled okra offers a unique crunch and tang that elevates any meal. It’s not only flavorful but also easy to prepare, making it perfect for both seasoned cooks and beginners alike.
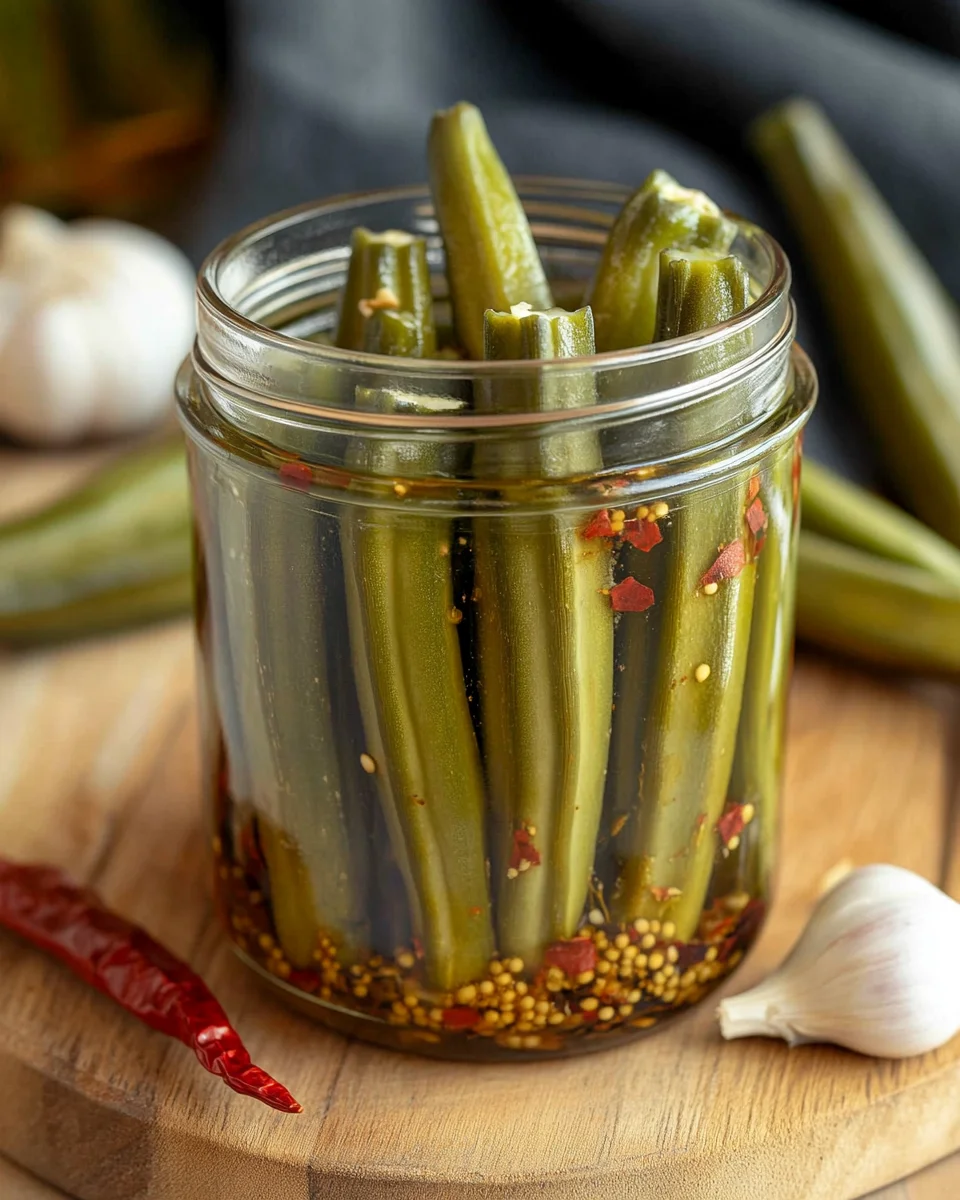
Why You’ll Love This Recipe
- Easy to Make: This recipe requires minimal prep time and simple ingredients, making it perfect for anyone.
- Versatile Use: Enjoy pickled okra as a snack, in salads, or as a topping for sandwiches.
- Long-Lasting Flavor: Once prepared, this pickled okra can last in your refrigerator for weeks.
- Garden Fresh: Utilize homegrown okra from your garden and enjoy the fruits of your labor.
- Health Boost: Okra is rich in vitamins and minerals, making this recipe not just tasty but nutritious too.
Tools and Preparation
Before diving into the process of making your delicious pickled okra, gather the necessary tools. Having everything ready will make the experience smoother and more enjoyable.
Essential Tools and Equipment
- Canner
- Jars with lids
- Pot
- Measuring cups and spoons
- Tongs
Importance of Each Tool
- Canner: This tool ensures that your jars are sterilized properly, which helps in preserving the okra safely.
- Jars with lids: Using quality jars with tight lids is crucial for maintaining freshness and preventing spoilage.
- Pot: A good pot is essential for mixing the brine ingredients evenly before boiling.
Ingredients
Here’s everything you need to create this flavorful pickled okra:
Thousands of Happy Customers Can't Be Wrong About These Bowls!
For the Pickled Okra
- Okra
- 1 quart white vinegar
- 1 quart water
- 1/2 cup pickling salt
- 1 tsp dill seed
- 1 pod red pepper or 1/8 tsp cayenne pepper
- 3 garlic cloves
How to Make Pickled Okra
Step 1: Prepare the Brine
Mix vinegar, water, and pickling salt in a pot. Bring this mixture to a boil while stirring occasionally.
Step 2: Prepare the Okra
Wash your okra thoroughly under cold water. Set it aside to drain while you get your canner ready.
Step 3: Set Up Your Canner
Bring a canner to a simmer with clean jars inside. This will help keep your jars warm until you’re ready to fill them.
Step 4: Clean Lids and Bands
Wash lids and bands with warm soapy water to ensure they are clean before sealing your jars.
Step 5: Fill Jars with Seasoning
Remove one jar from the canner at a time. Add 1 tsp dill seed, 1 pod red pepper, or 1/8 tsp cayenne pepper, along with 3 garlic cloves, into each jar.
Step 6: Pack the Okra
Carefully pack the washed okra tightly into each jar over the seasonings. Pour in the hot brine leaving about 1/2 inch headspace at the top.
Step 7: Remove Air Bubbles
Use a knife or bubble remover tool to eliminate any air bubbles by gently sliding it along the sides of the jar.
Step 8: Seal Jars
Wipe down the rims of each jar with a clean cloth to remove any residue. Place bands on each jar and secure them tightly.
Step 9: Process Jars
Return filled jars back into the canner. Repeat until all jars are filled or you run out of okra. Process them in boiling water for 15 minutes.
Step 10: Cool Down
Remove pot from heat and let sit for 5 minutes before taking out jars. Allow them to cool completely on a towel or cooling rack.
Step 11: Check Seals
After 24 hours, check that all seals are intact by pressing down on each lid; if it doesn’t pop back, it’s sealed properly!
Enjoy your homemade pickled okra as a crunchy addition to many meals!
How to Serve Pickled Okra
Pickled okra is a versatile ingredient that can elevate many dishes. Whether you’re serving it as a snack or as part of a meal, there are endless ways to enjoy this tangy treat.
As a Snack
- Enjoy pickled okra straight from the jar for a quick and healthy snack.
- Pair with cheese and crackers for a delightful appetizer platter.
In Salads
- Add sliced pickled okra to salads for an unexpected crunch.
- Toss them into coleslaw for an added layer of flavor.
With Sandwiches
- Use pickled okra as a zesty topping on sandwiches or burgers.
- They can also be layered in wraps for extra taste.
In Soups and Stews
- Incorporate pickled okra into gumbo for authentic Southern flavor.
- They make a great addition to vegetable soups, adding both texture and zest.
On Charcuterie Boards
- Arrange pickled okra alongside cured meats and olives on a charcuterie board.
- Their vibrant color and flavor will enhance the visual appeal of the spread.
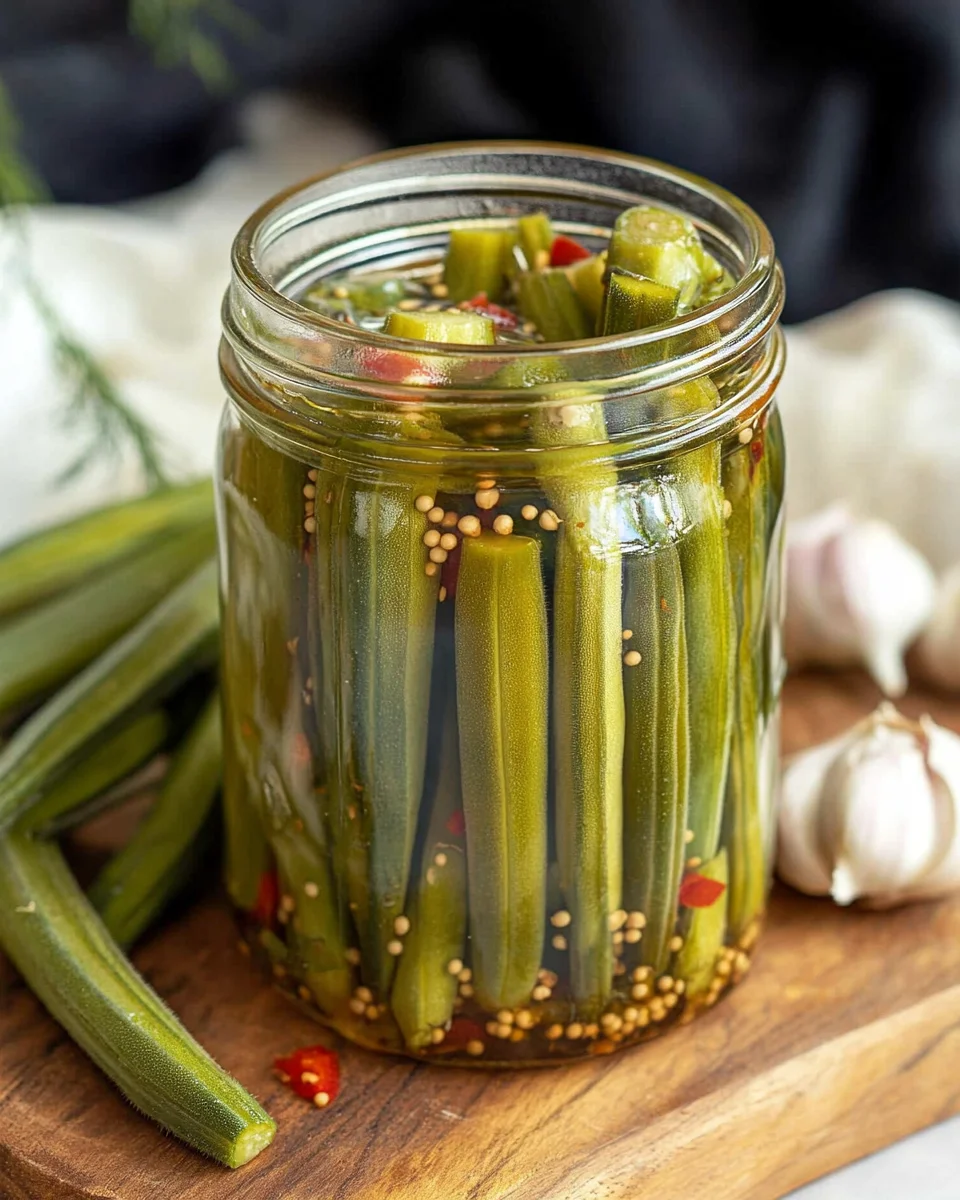
How to Perfect Pickled Okra
To achieve the best pickled okra, follow these helpful tips. These insights will ensure your pickling process is smooth and flavorful.
- Choose fresh okra: Select firm, bright green pods for the best taste and texture.
- Use sterilized jars: Make sure your jars are clean and sterilized to prevent spoilage.
- Adjust spice levels: Modify the amount of red pepper or cayenne pepper according to your heat preference.
- Store properly: Keep your pickled okra in the refrigerator for up to several weeks; ensure jars are sealed tightly.
- Experiment with flavors: Consider adding other spices like mustard seeds or coriander for unique variations.
- Patience is key: Allow the flavors to meld by letting your pickled okra sit for at least 24 hours before tasting.
Best Side Dishes for Pickled Okra
Pickled okra pairs wonderfully with various side dishes. Here are some delicious options that complement its tangy flavors.
- Cornbread: A classic Southern staple, cornbread’s sweetness balances the tartness of the pickled okra.
- Fried Green Tomatoes: Crispy fried green tomatoes add another layer of texture and flavor contrast.
- Coleslaw: The creaminess of coleslaw provides a refreshing counterpart to the crunchy pickles.
- Potato Salad: Add diced pickled okra to potato salad for an extra zing in every bite.
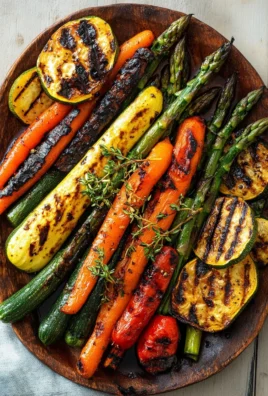
- Grilled Vegetables: Charred vegetables bring smokiness that harmonizes with the acidity of pickled okra.
- Rice Pilaf: Fluffy rice pilaf serves as a neutral base, allowing the flavors of pickled okra to shine through.
Common Mistakes to Avoid
Creating pickled okra can be a fun and rewarding experience, but there are some common pitfalls to avoid.
- Not using fresh ingredients: Always use fresh okra for the best flavor and texture. Wilting or old okra can lead to mushy results.
- Skipping the headspace: Leaving out the proper headspace in your jars can cause overflow during processing. Always leave at least 1/2 inch of space.
- Ignoring sterilization: Failing to properly sterilize your jars and lids might lead to spoilage. Make sure to wash them thoroughly and heat them in boiling water before use.
- Wrong vinegar concentration: Using vinegar that is not at least 5% acidity can affect preservation. Stick to white vinegar or another high-acid vinegar for safety.
- Not checking seals: After cooling, make sure all jars are sealed properly. A failed seal can spoil your pickled okra, so check after 24 hours.
Refrigerator Storage
- Store pickled okra in airtight jars for optimal freshness.
- It can last up to 3 months in the refrigerator once opened.
Freezing Pickled Okra
- Freezing is not recommended as it may change the texture of pickled okra.
- If you choose to freeze, use freezer-safe containers and consume within 6 months for best quality.
Reheating Pickled Okra
- Oven: Preheat the oven to 350°F (175°C) and place pickled okra in an oven-safe dish until warmed through.
- Microwave: Heat in short intervals (30 seconds) until warm, stirring in between to ensure even heating.
- Stovetop: Warm over low heat in a skillet until heated through, stirring occasionally.
Frequently Asked Questions
What is Pickled Okra?
Pickled okra is a preserved vegetable made by soaking fresh okra pods in a vinegar-based brine, often with spices like dill and garlic.
How long does pickled okra last?
When stored correctly in the refrigerator, pickled okra can last for up to three months. However, if you process them through canning, they can last much longer if sealed properly.
How do I know if my pickled okra is bad?
Signs include an off smell, changes in color, or swelling of the jar lid. If any of these occur, discard immediately.
Can I customize my pickled okra recipe?
Absolutely! You can adjust spices or add other ingredients like carrots or onions for different flavors while making your pickled okra.
How To Pickle Okra Easy at Home?
Follow this simple recipe using fresh okra, vinegar, water, salt, spices, and proper canning techniques for delicious homemade pickles!
Final Thoughts
This pickled okra recipe is not only easy but also a delightful way to preserve summer’s bounty. The crunchy texture and tangy flavor make it a versatile side dish or snack option. Feel free to customize the spices based on your preference for a unique twist! Enjoy creating your own batch today!
Pickled Okra
- Total Time: 35 minutes
- Yield: Approximately 6 servings 1x
Description
Pickled okra is a delightful way to preserve the vibrant flavors of summer. This simple recipe combines fresh okra with a tangy vinegar brine, creating a crunchy, zesty treat that is perfect for snacking, adding to salads, or serving as a flavorful side dish. With minimal preparation and straightforward instructions, even beginner cooks can create this delicious preserve. Plus, pickled okra offers a nutritious boost, packed with vitamins and minerals. Enjoy this versatile delicacy straight from the jar or as a creative addition to various meals. Discover how easy it is to make your own pickled okra and elevate your culinary repertoire!
Ingredients
- Fresh okra
- 1 quart white vinegar
- 1 quart water
- 1/2 cup pickling salt
- 1 tsp dill seed
- 1 pod red pepper or 1/8 tsp cayenne pepper
- 3 garlic cloves
Instructions
- Prepare the brine by combining vinegar, water, and pickling salt in a pot; bring to a boil while stirring.
- Wash the fresh okra thoroughly and let it drain.
- Set up your canner with clean jars inside and keep them warm.
- Clean lids and bands with warm soapy water.
- Fill each jar with seasonings: add dill seed, red pepper (or cayenne), and garlic cloves.
- Tightly pack the washed okra into the jars over the seasonings.
- Pour hot brine into each jar, leaving about 1/2 inch headspace.
- Remove air bubbles using a knife or bubble remover tool.
- Wipe down jar rims and secure lids tightly.
- Process jars in boiling water for 15 minutes.
- Cool jars completely on a towel or cooling rack after processing.
- Prep Time: 20 minutes
- Cook Time: 15 minutes
- Category: Preserve
- Method: Canning
- Cuisine: Southern
Nutrition
- Serving Size: 1 oz (28g)
- Calories: 5
- Sugar: 0g
- Sodium: 240mg
- Fat: 0g
- Saturated Fat: 0g
- Unsaturated Fat: 0g
- Trans Fat: 0g
- Carbohydrates: 1g
- Fiber: 0g
- Protein: <1g
- Cholesterol: 0mg
The Casserole Dish Thousands of Families Can't Cook Without!
Leave a Comment